How to Paint a Ceiling Like a Pro: A Bakersfield Painter’s Guide
Learning how to paint a ceiling properly requires a solid understanding of surface preparation, rolling techniques, and climate-conscious drying times. Because ceilings are highly exposed to direct light, skipping steps like sanding, priming, or maintaining a wet edge will inevitably result in visible lap marks and uneven textures.
At Steve Holloway Painting, we bring a methodical, prep-first approach to every interior painting project we handle in the Bakersfield area, ensuring flawless results that last. This comprehensive guide walks you through the exact steps, tools, and professional strategies needed to achieve a flat, streak-free finish on your ceiling.
Prep the Room and Ceiling Surface
A clean surface separates a professional-looking ceiling from one with visible patches and peeling edges.
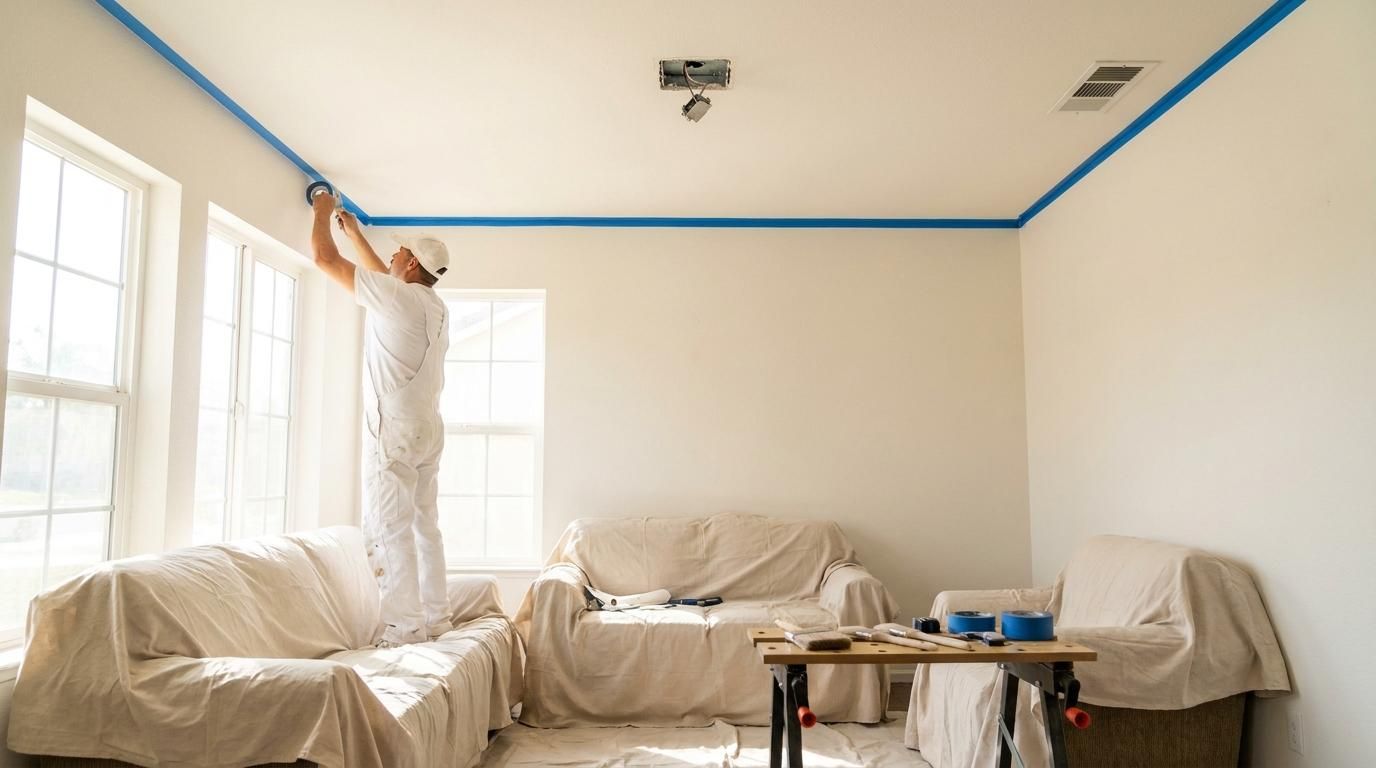
Clear the room as much as possible. Move furniture to the center and cover everything with canvas drop cloths. Remove light fixtures, fan blades, and vent covers. Tape the wall-ceiling joint with painter’s tape to protect your wall color.
Inspect for cracks, nail pops, and water stains. Fill holes with lightweight spackle, let it dry, and sand smooth with 120-grit paper. Water stains need a stain-blocking primer before any paint, or the discoloration bleeds through within weeks. Sand the rest lightly with 150-grit to give the new coat something to grip. Dust the entire ceiling with a damp cloth after sanding to remove grit before priming.
In Bakersfield homes built during the 1970s and 1980s, textured or popcorn ceilings may need extra attention. Scrape any loose or crumbling texture flat before priming.
Choose the Right Paint and Roller
Paint sheen and roller nap determine how the finished ceiling looks under light.
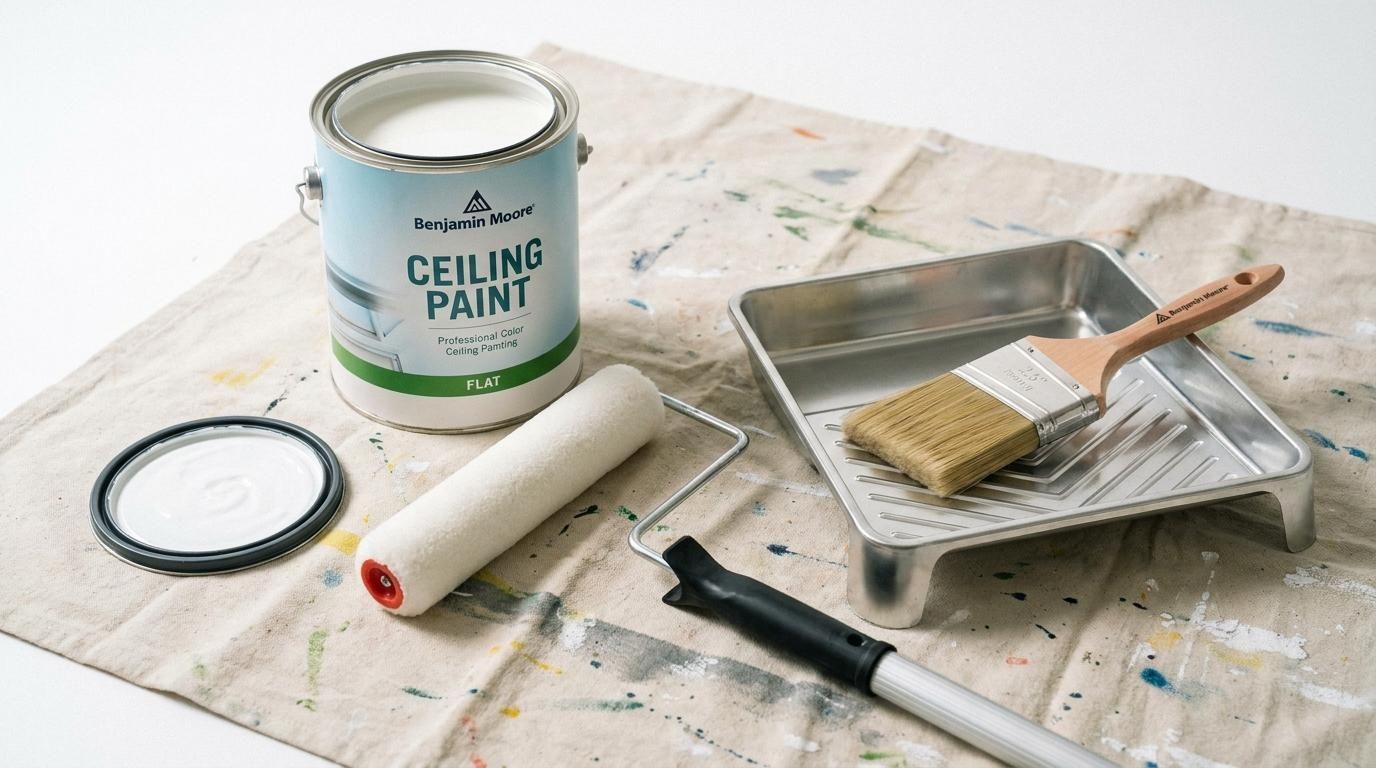
Use flat or matte ceiling paint. Flat hides imperfections better than any other sheen, and ceilings take less abuse than walls, so washability doesn’t matter as much as full coverage. For Bakersfield homes with textured ceilings, choose a dedicated ceiling formula rather than thinning standard wall paint.
Roller nap matters more than brand. Use a 3/8-inch nap for smooth surfaces and a 1/2-inch nap for light texture. Anything heavier creates unwanted orange peel. Pair the roller with an extension pole for even pressure across the full surface, which is the same setup professional painting crews in Bakersfield use to maintain consistent coverage without repositioning a ladder between passes. A quality angled brush handles the cut-in work where the ceiling meets the walls.
Roll the Ceiling Without Lap Marks
Lap marks form when a wet edge dries before you roll back into it, leaving a visible stripe.
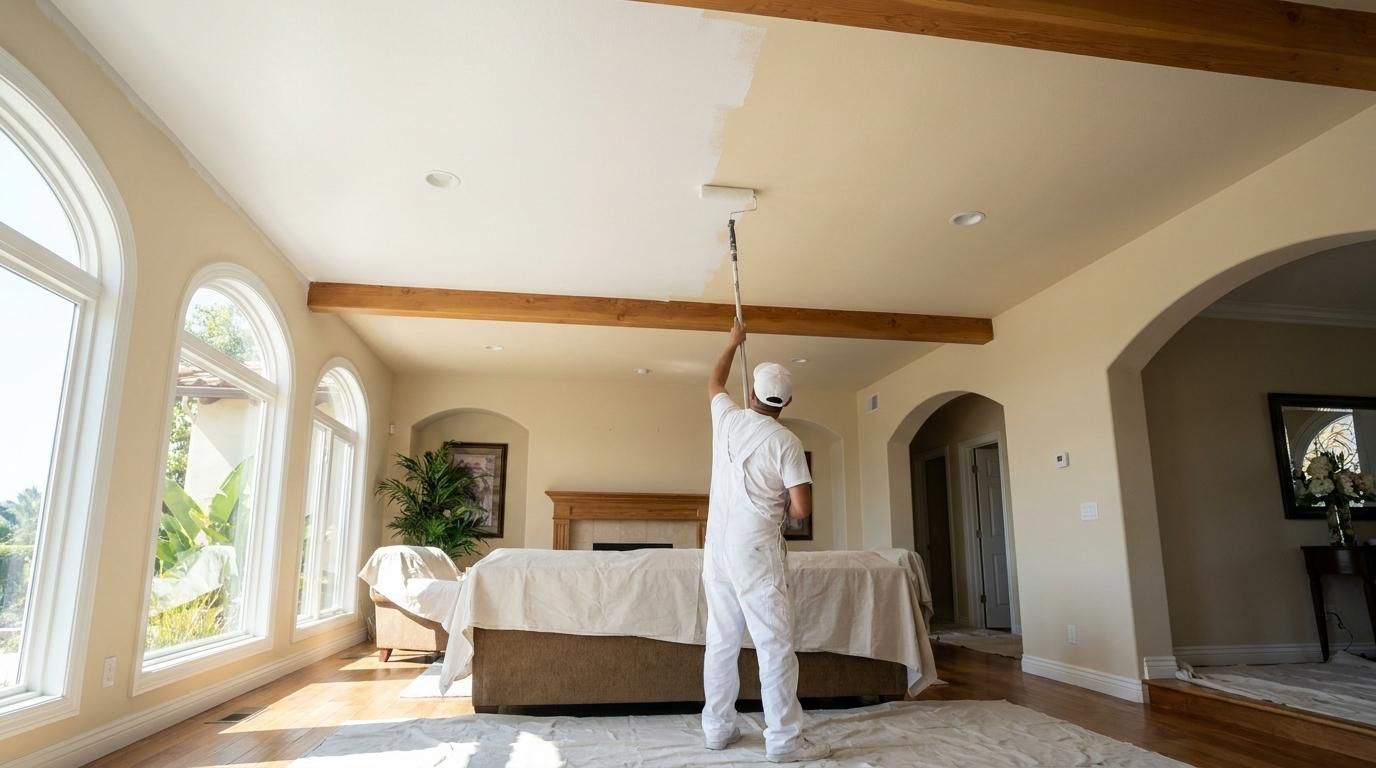
Work in 3- to 4-foot sections, starting at the wall farthest from the room’s main light source. Load the roller evenly, roll in one direction to lay the paint, then back-roll perpendicular to smooth ridges. Overlap each pass into the previous section while the paint is still tacky.
Bakersfield’s low humidity and warm indoor temperatures speed up dry time, which shrinks the working window. If the room is above 80°F, close the blinds and run the air conditioning to slow evaporation. Most ceiling paints need two coats. Wait two to four hours before recoating.
Vaulted or textured ceilings with high square footage are where interior painting costs in Bakersfield start reflecting complexity rather than room count, because keeping a wet edge across a large surface demands more than one pair of hands.
Frequently Asked Questions
Do I Need to Prime a Ceiling Before Painting?
You need to prime a ceiling before painting if the surface has water stains, bare drywall patches, or a color change from dark to light. A stain-blocking primer seals discoloration so it cannot bleed through the topcoat. For previously painted ceilings in good condition, a self-priming ceiling paint can skip the separate primer step.
How Many Coats of Paint Does a Ceiling Need?
Most ceilings need two coats of paint for even, streak-free coverage, especially when switching from an off-white to a bright white or covering a patched surface. Steve Holloway Painting typically applies two coats on every ceiling project across Kern County to eliminate thin spots that show under direct light. One coat may work only if the existing color closely matches the new one and the surface is in solid condition.
Should I Paint the Ceiling or Walls First?
Painting the ceiling first prevents drips and roller splatter from landing on freshly finished walls. Ceiling paint inevitably mists downward during rolling, and catching those drips on unpainted walls saves cleanup time. After the ceiling dries, tape the ceiling edge and paint the walls without worrying about smudges on the overhead surface.
Your Next Ceiling Project Starts With the Right Prep

Achieving a professional-grade finish when learning how to paint a ceiling ultimately comes down to meticulous preparation, choosing the right roller nap, and managing your paint's drying window. In Bakersfield's dry climate, keeping a wet edge can be challenging, but following a structured sequence ensures your ceiling will look flat and seamless under any lighting.
If you prefer to leave the ladder work and heavy prep to the professionals, Steve Holloway Painting is ready to transform your home with expert interior painting services across Kern County. Call us today at (661) 325-8520 or request a free painting estimate online to get your next project started.