How to Paint Trim Like a Pro: Bakersfield Painter's Tips for Clean Lines
Painting trim like a pro requires a quality angled brush, prepped surfaces, and a steady cut line where trim meets the wall. The prep underneath matters most: filling nail holes, sanding until smooth, and priming bare wood before any topcoat. Steve Holloway Painting's interior painting team takes on every trim finish with that foundation.
Sloppy trim lines are the first thing visitors notice in a freshly painted room, and they're the hardest detail to fix after the paint dries. The good news: clean lines come from technique, not equipment. Three techniques separate a clean edge from a sloppy one, and none of them require painter's tape.
Sand and Prime Before You Cut a Single Line
Every clean trim line starts with the surface behind the paint, not the brush in your hand.
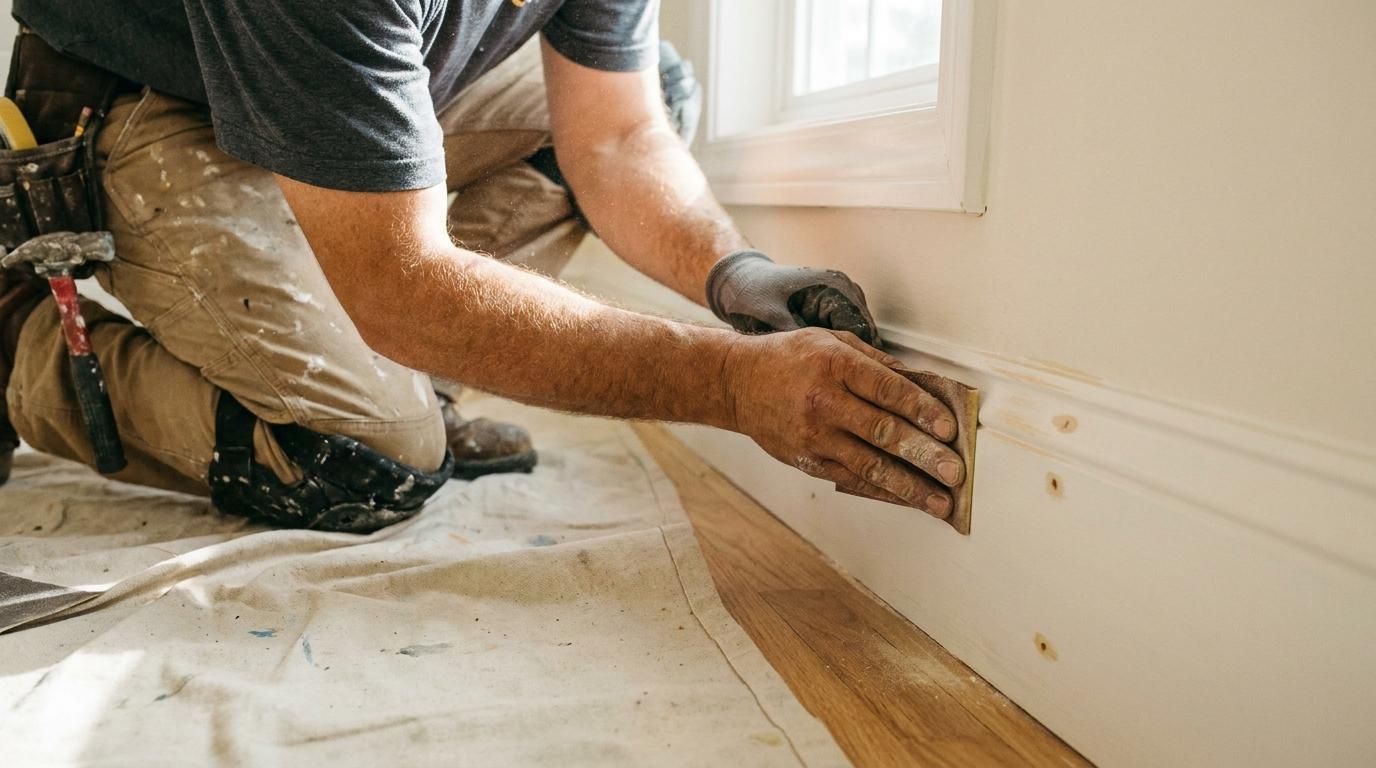
Fill nail holes and dents with lightweight wood filler. Let it dry fully, then sand flush with 150-grit paper. If the existing trim has a gloss finish, scuff it with 220-grit to break the sheen. Paint doesn't grip smooth, shiny trim, and skipping this step causes peeling within months.
Wipe the trim with a damp cloth to remove sanding dust. Apply a bonding primer to any bare wood, filled spots, or previously varnished surfaces. Primer creates an even base that accepts the topcoat uniformly, which gives trim its smooth, furniture-like look. Proper sanding and priming take more time than the paint itself. That's why professional preparation services typically account for half the labor on a trim job.
Load the Brush and Cut a Straight Line
The right brush and loading technique make clean lines possible without taping every edge.
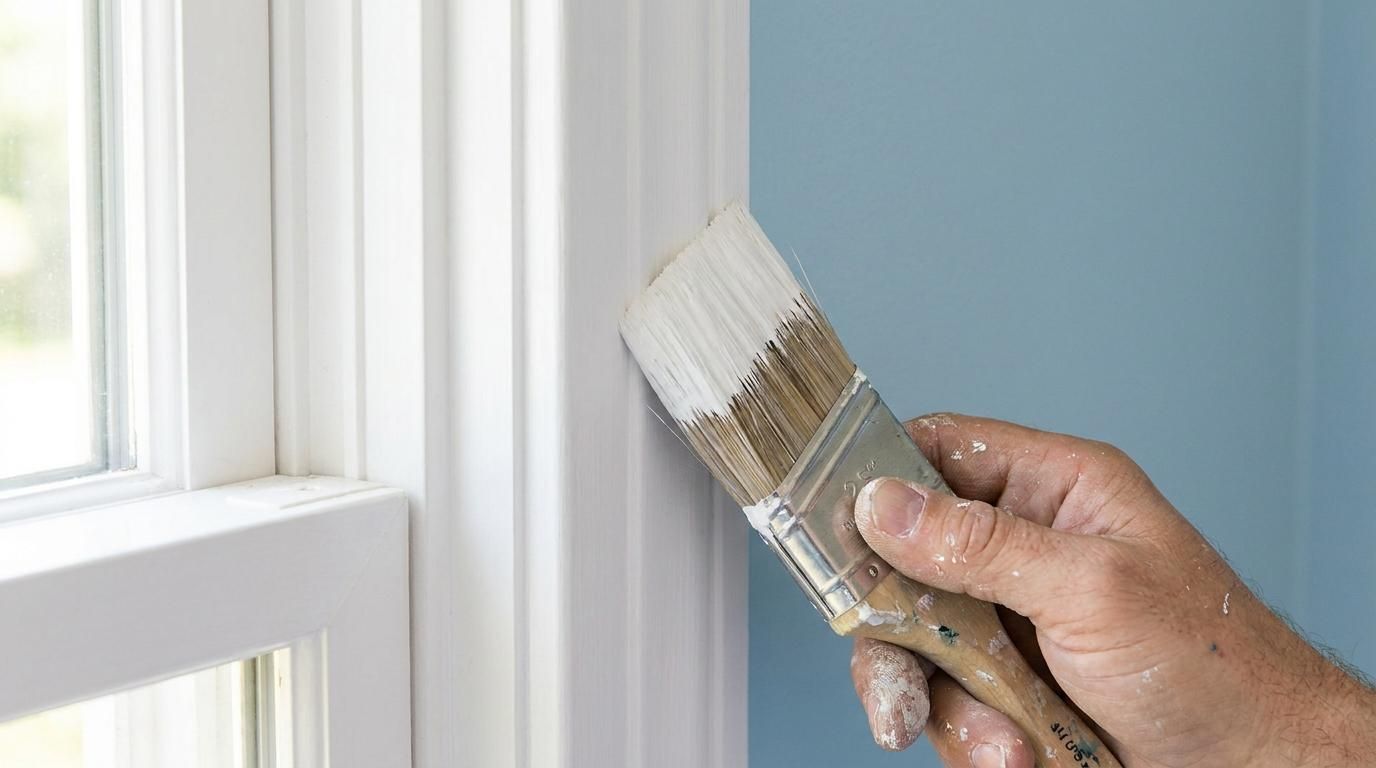
Use a 2 to 2.5-inch angled sash brush with synthetic filaments. Dip only the bottom third of the bristles into the paint and tap the brush lightly against the inside of the can. Don't wipe the brush across the rim, because that strips too much paint and starves the bristles.
To cut a line, press the brush against the trim about a quarter inch from the wall edge. Angle the bristles toward the wall and draw a steady, continuous stroke. The paint fans out from the bristle tips to meet the edge cleanly. Let the brush do the work rather than pressing hard against the wall surface. Practice on a piece of scrap trim or cardboard before moving to visible areas.
Work Top to Bottom for a Consistent Finish
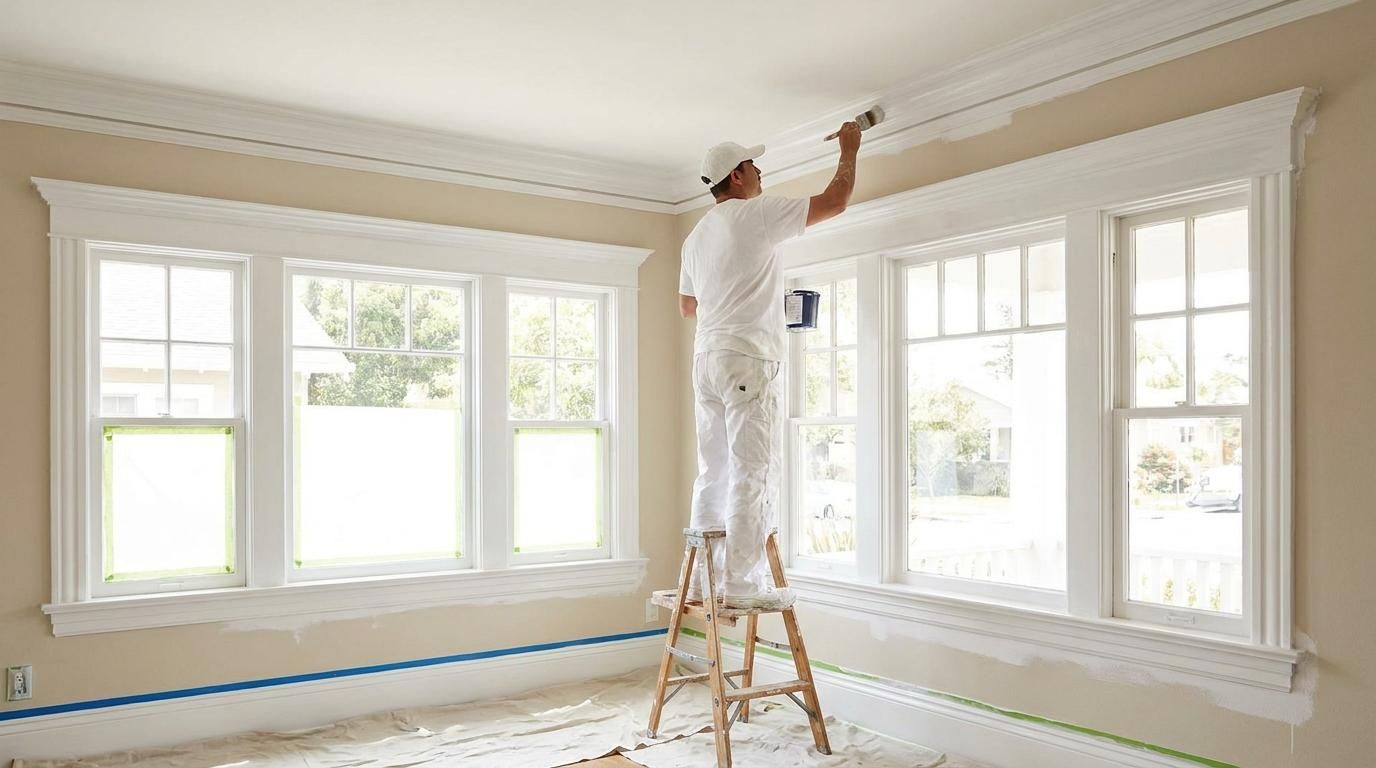
Paint order affects the final result because drips and splatter from upper trim land on lower surfaces.
Start with crown molding if the room has it, then move to window and door casings, and finish with baseboards. This top-down sequence lets you catch drips as you work downward. Apply paint in long, smooth strokes that follow the direction of the trim, and keep a wet edge by working in manageable sections.
Managing Dry Time in Bakersfield
Bakersfield's low humidity and warm indoor air dry paint faster than the label suggests, which means shorter working windows for blending brush strokes. For rooms with extensive trim and built-in cabinetry, the faster dry time is where painting professionals in Bakersfield gain an advantage, because two people can keep the wet edge moving on both sides of a room simultaneously. If trim paint starts to drag, stop and start a fresh section rather than brushing back into semi-dry paint.
Frequently Asked Questions
What Type of Paint Is Best for Trim and Baseboards?
A semi-gloss or high-gloss acrylic latex paint works best for trim and baseboards because the harder finish resists scuffs, fingerprints, and cleaning chemicals better than flat or eggshell sheens. Semi-gloss is the more common choice in Kern County homes because it reflects enough light to highlight clean lines without showing every surface imperfection. High-gloss works well on formal molding where a polished look is the goal.
Do You Need to Sand Trim Before Painting?
Sanding trim before painting is necessary when the existing surface has a gloss or semi-gloss finish, because new paint won't bond to a smooth, shiny surface without mechanical tooth. Light sanding with 220-grit paper creates microscopic scratches that give the primer and topcoat something to grip. Steve Holloway Painting sands every trim surface during prep, regardless of the existing finish condition.
How Long Should Trim Paint Dry Between Coats?
Trim paint should dry at least two to four hours between coats when using acrylic latex, though manufacturer recommendations vary by product. In Bakersfield's warm, dry indoor air, paint often feels dry to the touch within an hour, but recoating too early traps solvents and causes a soft, tacky finish that doesn't harden properly. Wait the full recommended time even when the surface feels dry.
Clean Lines Start With the Right Approach
The tools don’t matter as much as people think. A quality brush, properly sanded surfaces, and patience between coats produce trim that looks professional even without tape, stencils, or specialty equipment. Every room in the house benefits from sharp trim work, and the same technique scales from a single baseboard to a full crown-to-baseboard refinish.
For a free estimate on trim painting or a full interior repaint, call Steve Holloway Painting at (661) 325-8520 or request a free painting estimate online.