How To Clean Cabinets Before Painting: Tips for a Smooth Finish
Painting your kitchen cabinets is one of the most transformative home improvement projects you can undertake. A fresh coat of paint can instantly modernize a dated kitchen, increase your home's value, and completely change the feel of the space. However, the secret to a professional, long-lasting finish isn't just in the paint you choose; it's in the preparation. At Steve Holloway Painting, we know that the most crucial step is learning how to clean cabinets before painting.
Kitchen cabinets are magnets for grease, grime, and cooking residue, especially those near the stove. If this invisible layer of gunk isn't completely removed, the new paint will not adhere properly, leading to peeling, bubbling, and a finish that fails prematurely. We've compiled our professional tips to ensure your cabinets are perfectly prepped for a smooth, durable finish.
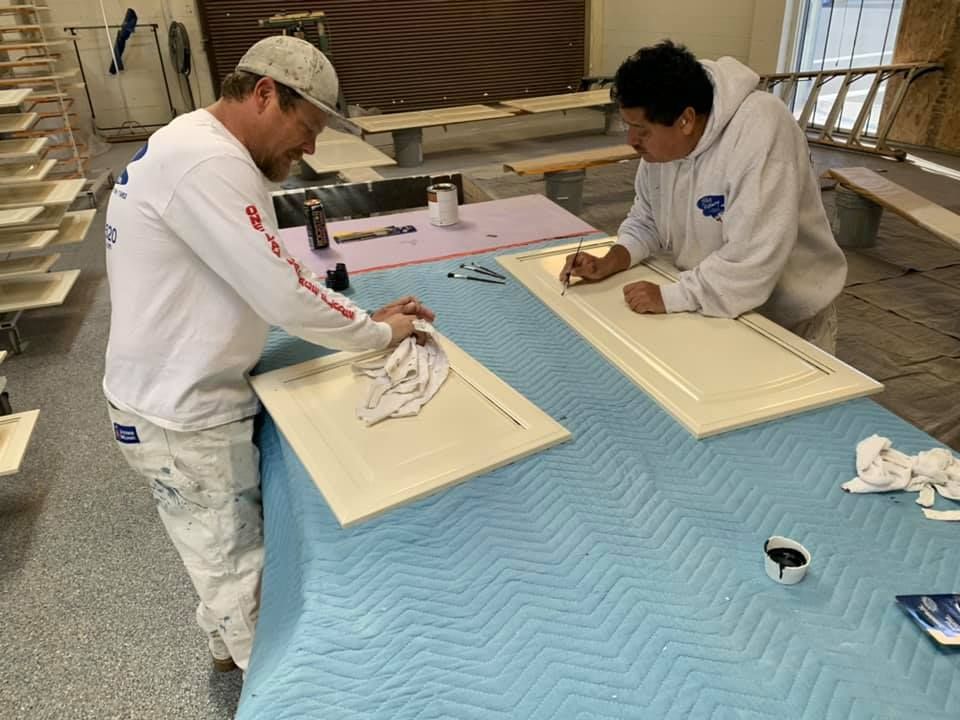
Step 1: Disassembly and Organization
Before any cleaning begins, you need to clear the workspace. This step is non-negotiable for professional results.
- Remove Doors and Drawers: Carefully take off all cabinet doors and drawer fronts.
- Remove Hardware: Unscrew all hinges, handles, and knobs. Place all hardware in labeled plastic bags. We recommend labeling the doors and drawers with a corresponding number (e.g., "Upper Left 1") using painter's tape in an inconspicuous spot, like the hinge cutout. This ensures everything goes back in the right place.
- Clear the Area: Move the doors and drawers to a well-ventilated area where you can clean and paint them, such as a garage or workshop.
Step 2: The Essential Deep Clean (Degreasing)
This is the most critical part of the preparation process. The goal is to completely strip away years of accumulated kitchen grease and oil. During this step, Steve Holloway Painting uses heavy-duty degreasers to cut through the toughest residue.
Recommended Degreasers: We suggest using powerful agents like Trisodium Phosphate (TSP) (handle with care and rinse thoroughly) or commercial degreasers like Krud Kutter. A final wipe-down with a 50/50 mix of water and denatured alcohol can remove any lingering cleaner residue.
Process: Apply the degreaser to a clean, non-abrasive cloth and scrub every surface, paying extra attention to areas near the stove and handles. Rinsing is crucial. Wipe down all surfaces with a clean, water-dampened cloth until all cleaner residue is gone. Allow the cabinets to dry completely before moving on.
Pro Tip: One of the most common issues we see during repaints is residue hiding in places homeowners rarely think to clean—like the top edge of cabinet doors, the underside lips, and the center panels on Shaker-style doors. These areas collect a surprising amount of grease and fingerprints. Even a thin film can cause paint to fisheye or separate. Keep your rinse water fresh by switching buckets often. Using dirty water can redeposit oils right back onto the surface you just cleaned.
Step 3: Scuff Sanding for Adhesion
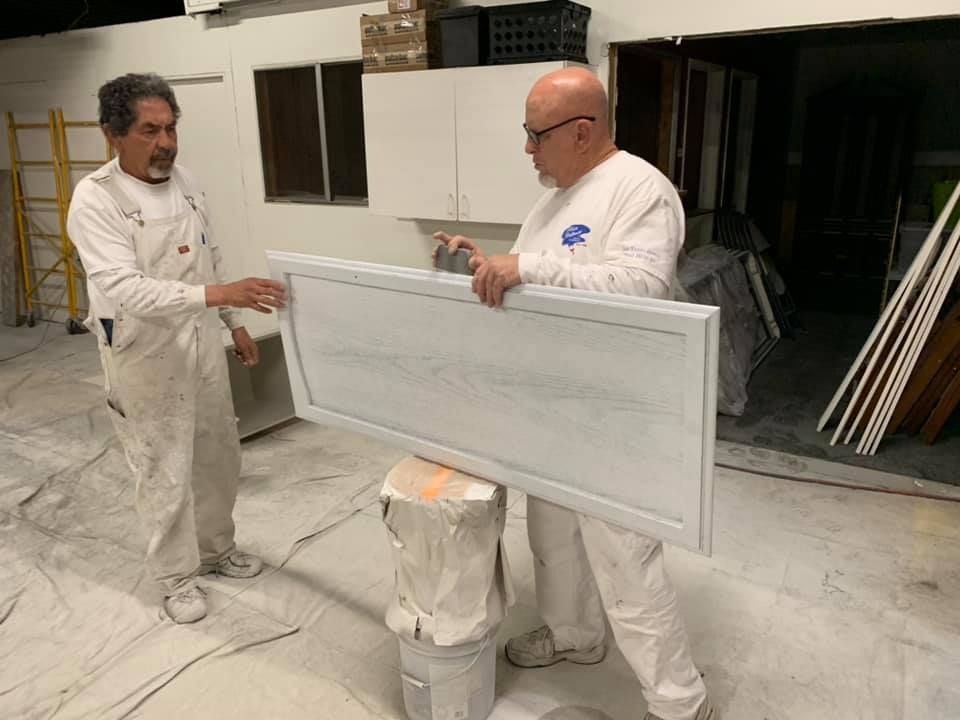
Once the cabinets are completely clean, lightly scuff the surface to ensure the primer adheres properly. Sanding works best because it scuffs the old finish, giving the primer a better surface to stick to.
Scuff Sand: Use a fine-grit sandpaper (180- to 220-grit) for a light "scuff sand." The goal is to simply dull the glossy surface, not to remove the finish entirely.
Dust Removal: After sanding, the fine dust must be completely removed. Use a vacuum with a brush attachment, then wipe down every surface with a tack cloth. This step is crucial, as microscopic dust particles will ruin a smooth finish.
While chemical deglossing (liquid sandpaper) is an alternative, it is generally less effective than a proper scuff sand and should only be used in hard-to-reach areas.
Step 4: Priming for Perfection
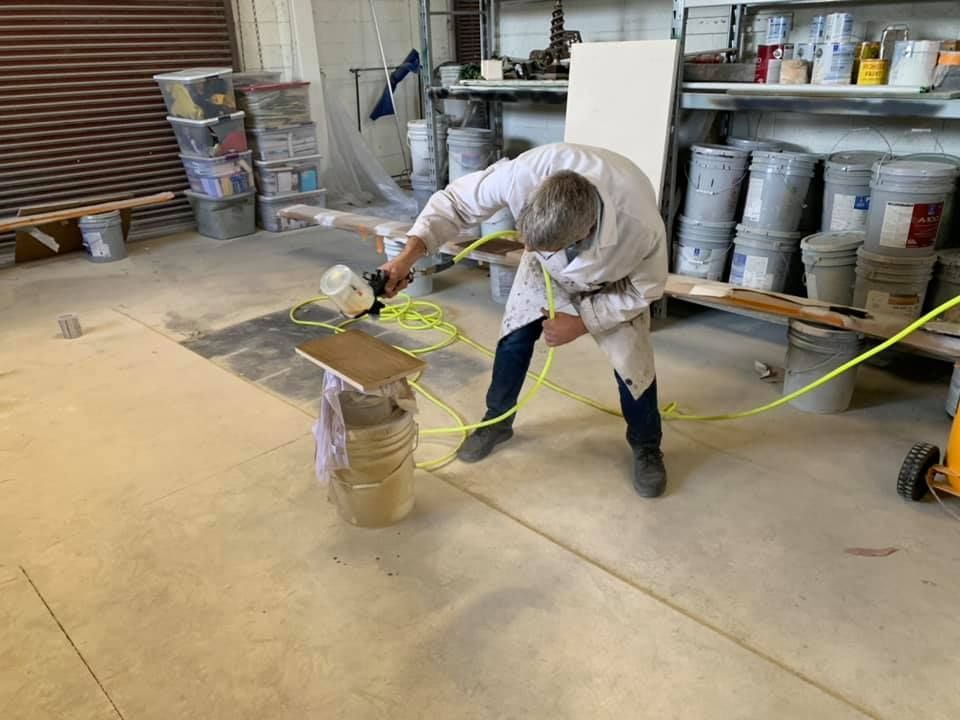
With the cabinets clean, degreased, and scuff-sanded, they are finally ready for primer. We always use a high-quality bonding primer designed for cabinets. Primer seals the surface, blocks stains, and provides the perfect base for the topcoat.
Contact Us for Hassle-Free Painting and Professional Results
Remember, a professional paint job is 90% preparation and 10% painting. By taking the time to properly clean cabinets before painting, you’re setting the stage for a beautiful, durable, and professional-looking finish that will last for years.
If the thought of all this prep work seems overwhelming, remember that our team at Steve Holloway Painting is here to help. We specialize in transforming kitchens with a flawless finish, handling all the tedious preparation for you. Whether you need a full kitchen makeover or simply want your
kitchen cabinets repainted, Steve Holloway Painting is your trusted Bakersfield expert.
Contact us today.